Real Estate Photography Shot List: A Guide to Capturing Stunning Photos
Real estate photography is an important aspect of selling a home. With so much competition in the market, it's crucial to make sure that your photos stand out and grab the attention of potential buyers. In this video, we're going to go over our standard shot list for shooting real estate photography. This shot list will serve as a guide for the shots that we recommend taking when shooting real estate photos.
When starting out, you may not be super confident in your shots, so we recommend over shooting each home so that you have multiple options to choose from. This is also a great way to learn composition techniques, because as you shoot and experiment with multiple angles, you'll quickly realize which ones produce great images and which ones don't.
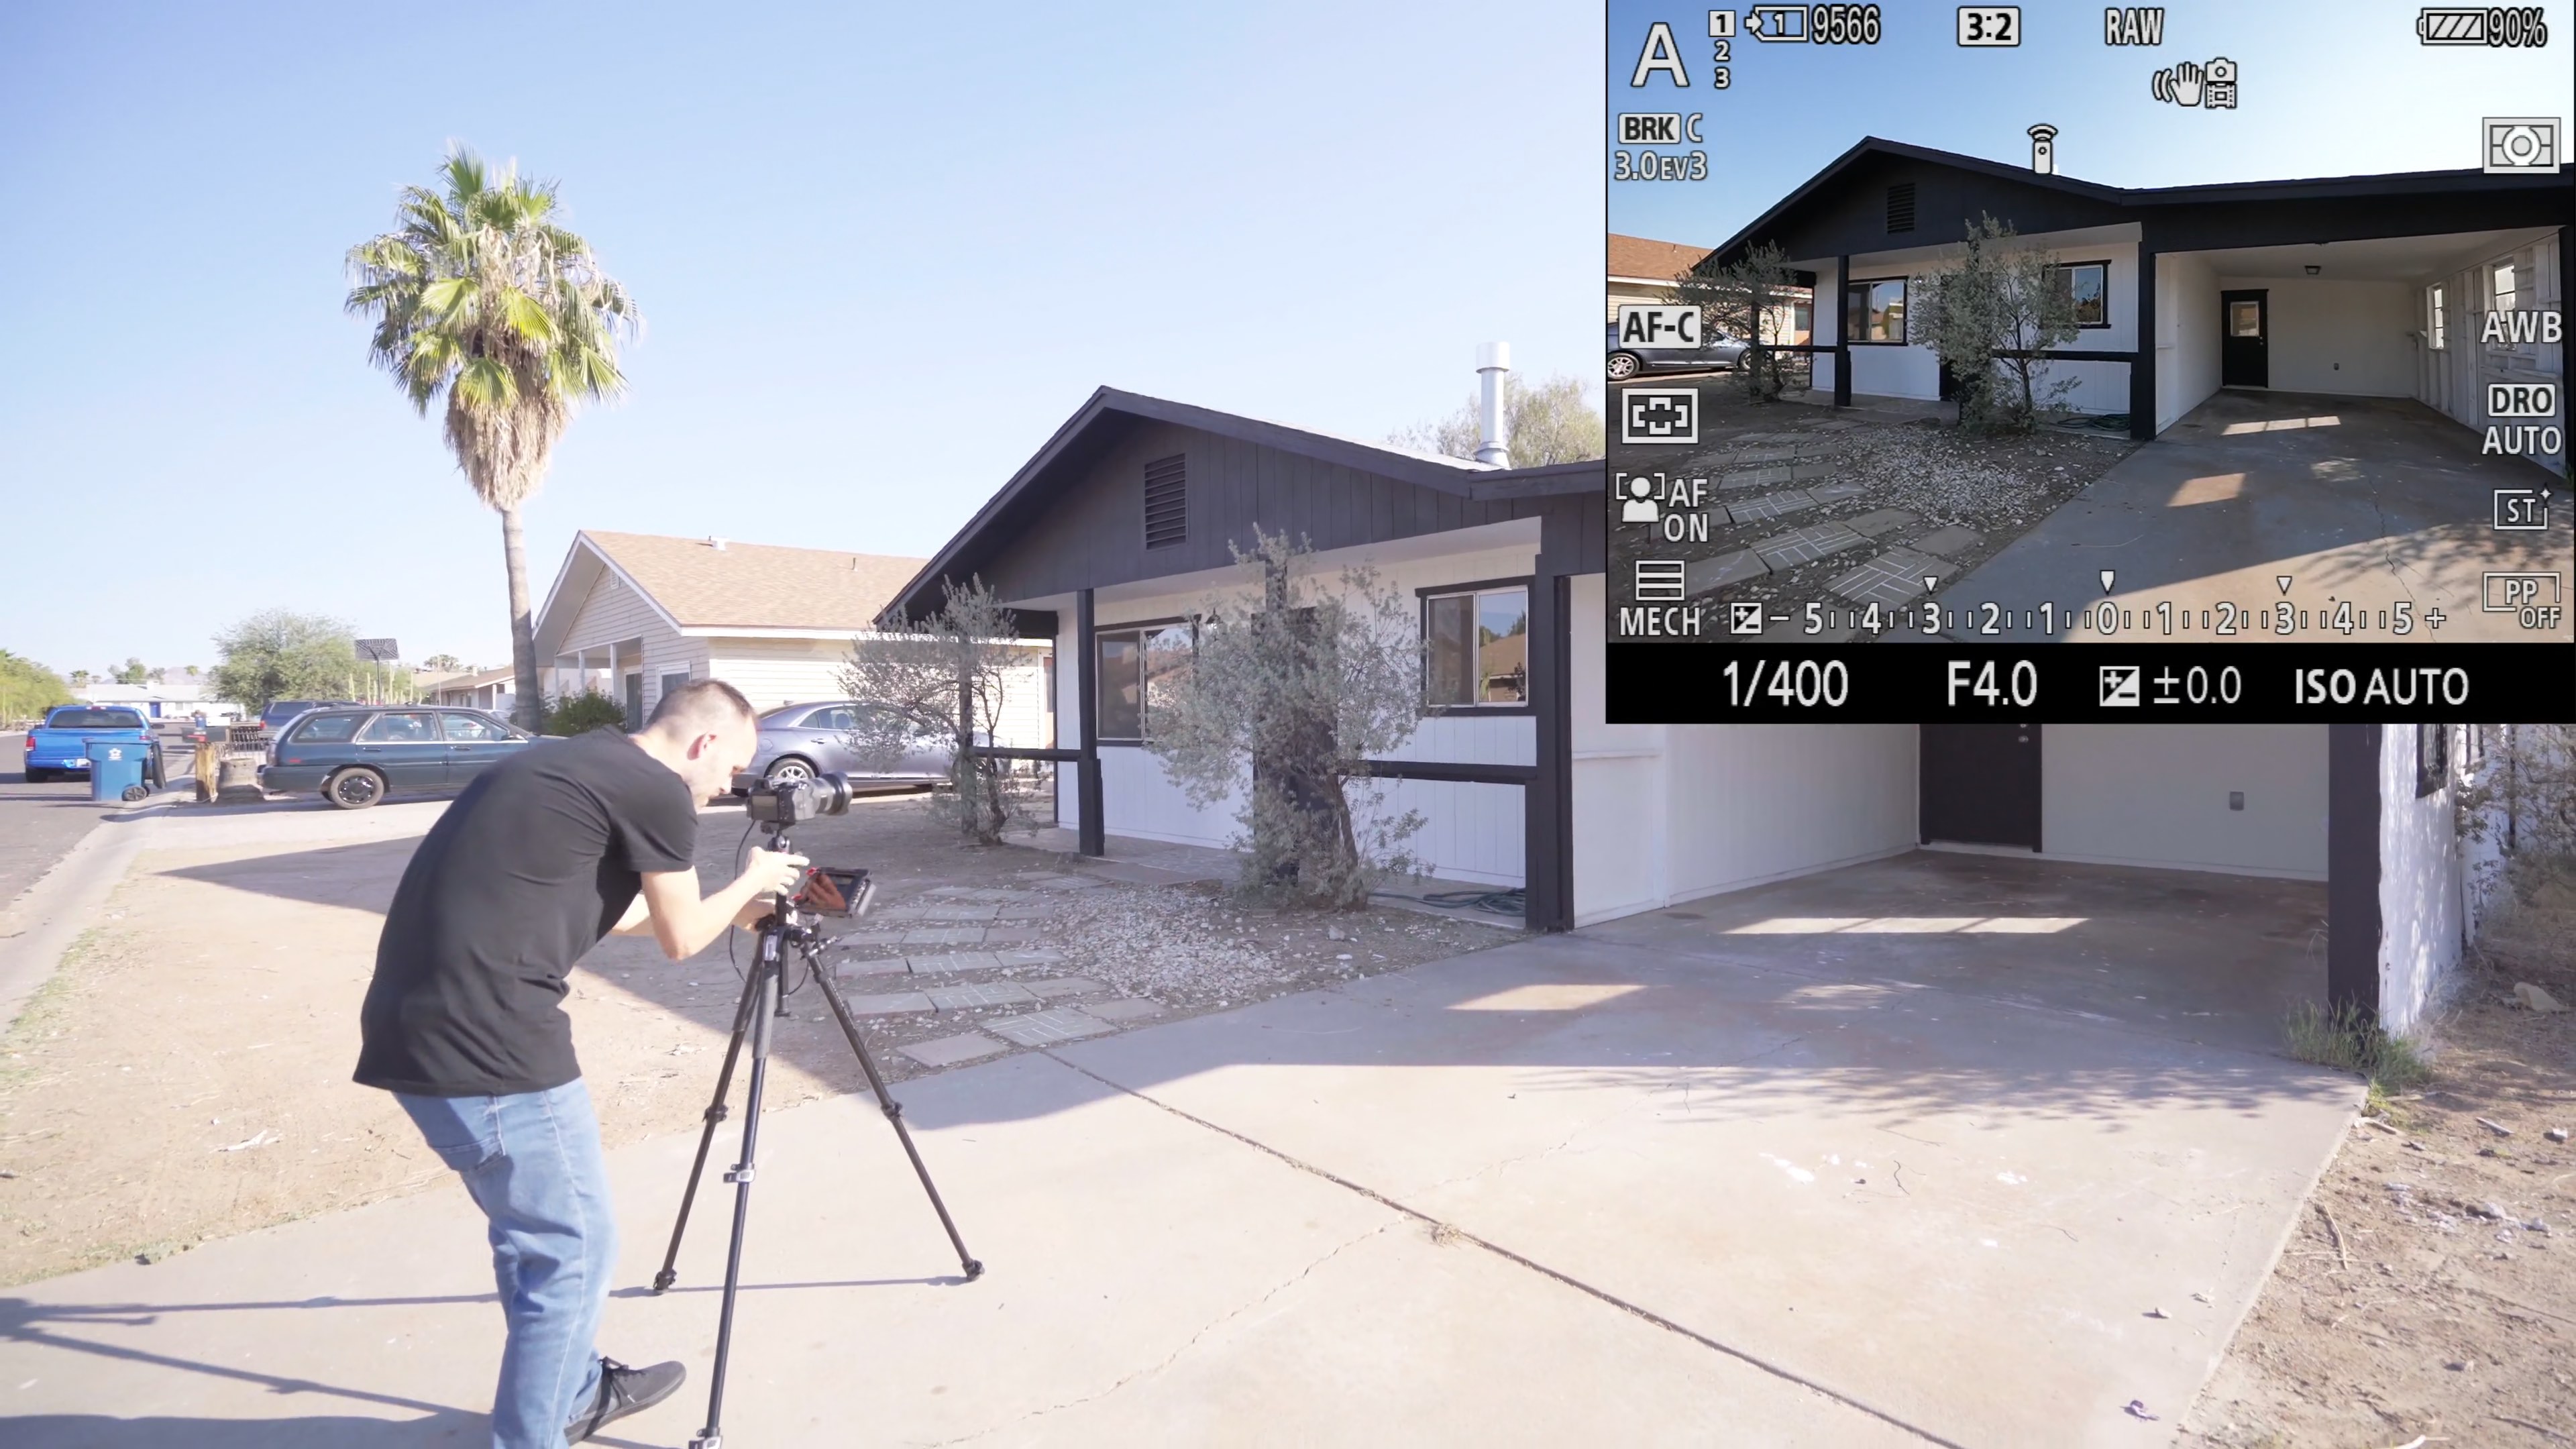
Let's dive into the shot list. First, you'll want to take at least four shots of the front of the home. Three shots showing the home from different angles, usually left center and right shots in one shots of the entryway showcasing the walkway to the front door. If there's a courtyard or front patio, make sure to capture additional shots of those as well.
Now that we're ready to shoot the interior, here's a quick breakdown of the order in which we like to shoot. We first shoot the entryway, then we move on to the main areas. The main areas are the family room, living rooms, kitchen, and dining room. Then we shoot the master bedroom and bathroom. From there, we move on to the secondary bedrooms and bathrooms and any additional rooms such as offices, game rooms, or movie rooms. This order is also how we like to deliver our photos to our customers. We have found that this particular order reduces the amount of work our customers have to do to get their photos on the MLS because they're already in an order that makes sense.
When you first get inside, you'll want to take one to two shots of the entryway. We always recommend taking at least one shot from the doorway facing the interior of the home. This helps a potential buyer understand what they will see when they first walk into the home. Now let's move on to the main areas. We recommend taking at least three to four shots of the family room, living room, and dining room.
The kitchen is one of the most important rooms in the home, so you want to capture multiple shots from different angles. We recommend a minimum of four to five kitchen shots. However, if there's a kitchen with a bunch of features and special appliances, don't be shy to take more photos than that. It's not uncommon for us to deliver over 10 kitchen photos for a home with a really nice one. Just use your best judgment in regard to the number of photos that you're taking in the kitchen.
Moving on to the master bedroom, this is also one of the biggest selling points of the home, so you'll want to take four to five photos of the master bedroom, then three to four photos of the master bathroom and one to three photos of the master closet depending on the size.
With secondary bedrooms, you'll want to get at least two to three shots of each bedroom. This will be the same for secondary bathrooms. If there are any other special rooms such as offices, game rooms, or theaters, you want to get a minimum of two to three shots of each of these rooms.
Before you head out to the backyard, you'll want to shoot the laundry room and garage and capture two to three shots of each. Last but not least, let's move on to the backyard. Each backyard will be different, but it's good to get a minimum of five to six shots of a backyard.
In conclusion, while this shot list is a guide, it's important to understand that each home is different and may require more or fewer shots. Over-shooting each home can be a great way to experiment with composition techniques and have multiple options to choose from during the editing process. Being flexible and delivering a great customer experience is always more important than the order in which you shoot the home.
.jpg?width=50&name=242700170_10225035040690466_6890663067681674799_n%20(1).jpg) By
By


