.jpg?width=50&name=242700170_10225035040690466_6890663067681674799_n%20(1).jpg) By
By
If you're an avid user of Adobe Lightroom, you know how much time presets can save you during the editing process. They allow you to achieve a consistent look and feel across all your photos, making them an essential tool for any photographer. In this blog post, we'll walk you through the steps on how to import presets into your Lightroom library.
First, download the presets you want to use and save them in a folder that's easily accessible, like on your desktop. Ensure you have at least one photo in your library before opening Lightroom because without a photo, Lightroom won't allow you to add or remove presets.
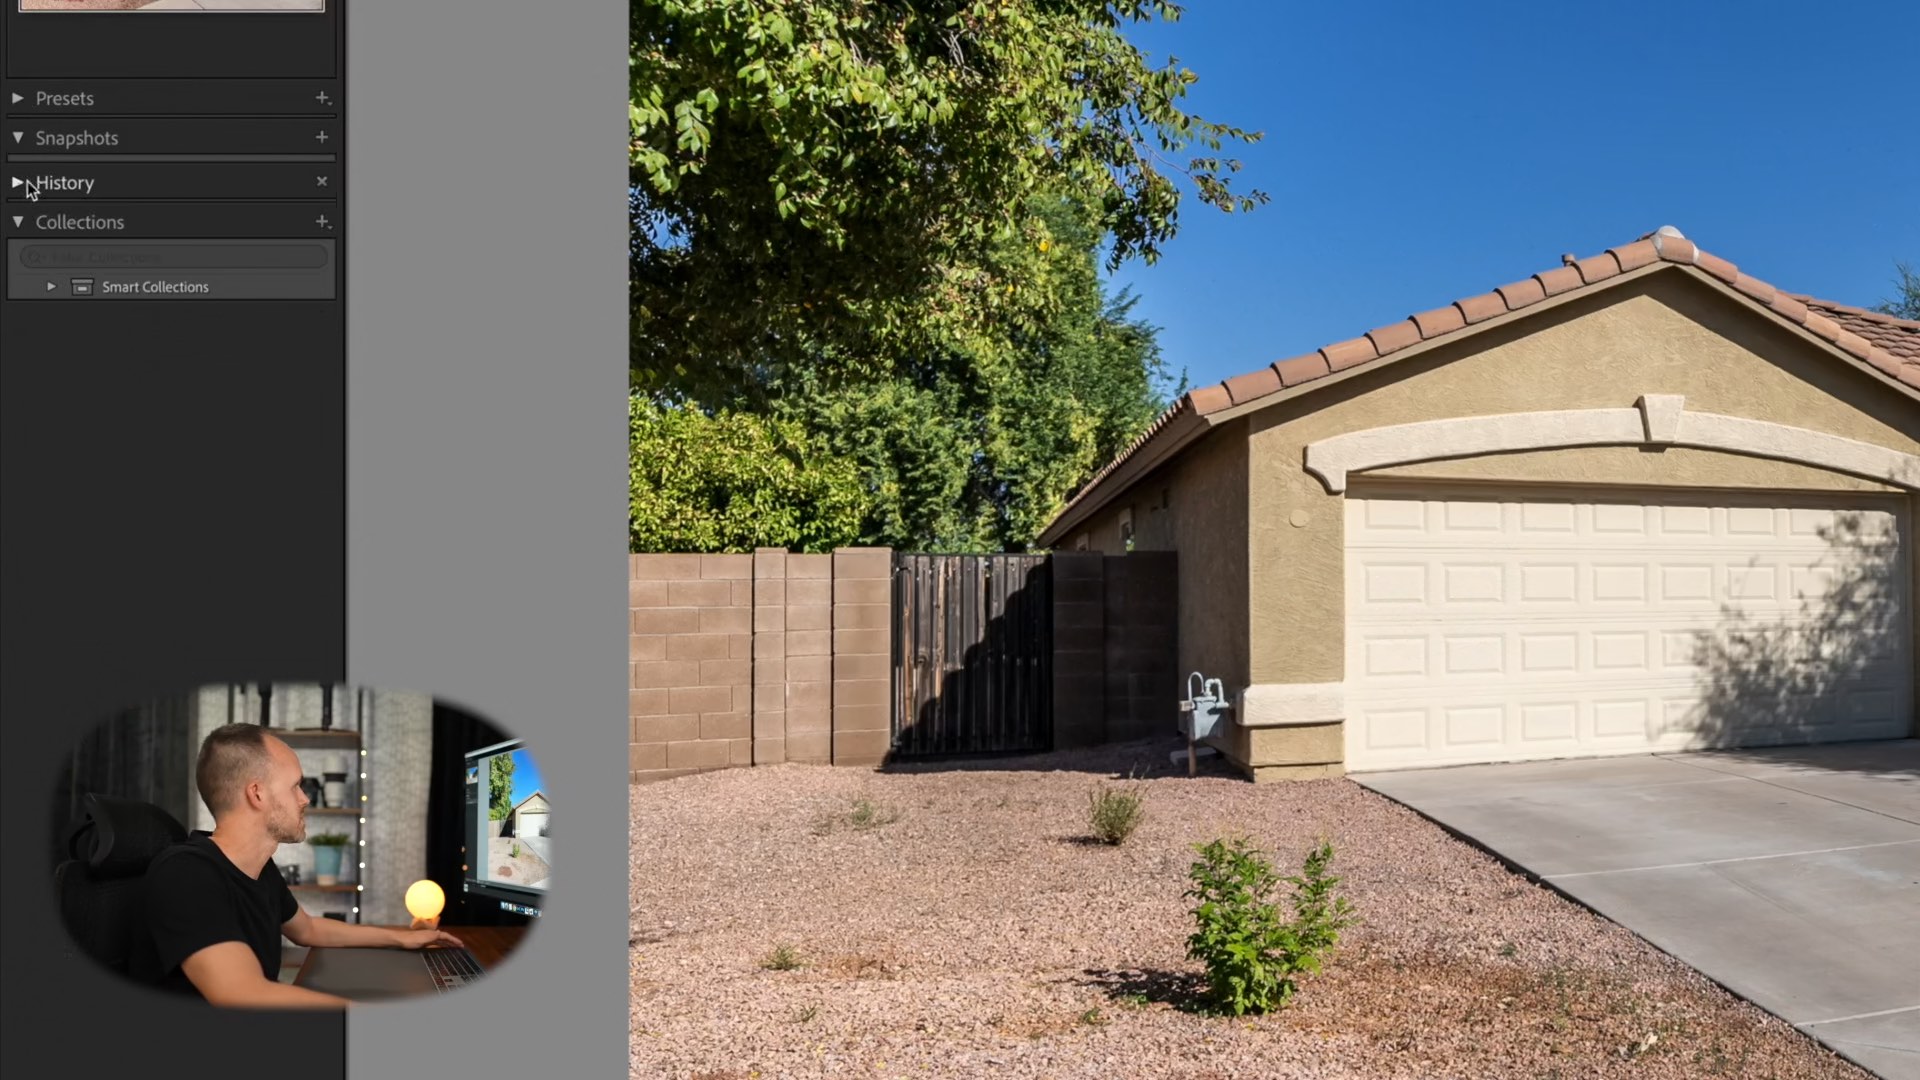
Once you have a photo in your library, go to the Develop tab. By default, the presets panel is usually closed. Open it up by clicking on the "Presets" dropdown. If you're using a fresh install of Lightroom, there will be no user presets available.
.jpg?width=2240&height=1260&name=$200Hour%20(3).jpg)
To import your downloaded presets, click on the plus button on the Presets panel and select "Import Presets." Navigate to the folder where you saved the presets and select them all. Click "Import," and Lightroom will add the presets to your library.
That's it! Now you can apply the presets to your photos, giving them a consistent look and feel. It's a simple process that can save you a lot of time during the editing process.
In conclusion, presets are a great tool for achieving a consistent editing style across all your photos. Importing presets into your Lightroom library is a straightforward process that anyone can do. Remember to save your presets in an easily accessible folder, and make sure you have at least one photo in your library before importing them. With these steps, you'll be on your way to achieving a consistent editing style that will make your photos stand out.